COMMERCIAL EPOXY RESIN FLOORING
WHAT IS AN EPOXY FLOOR?
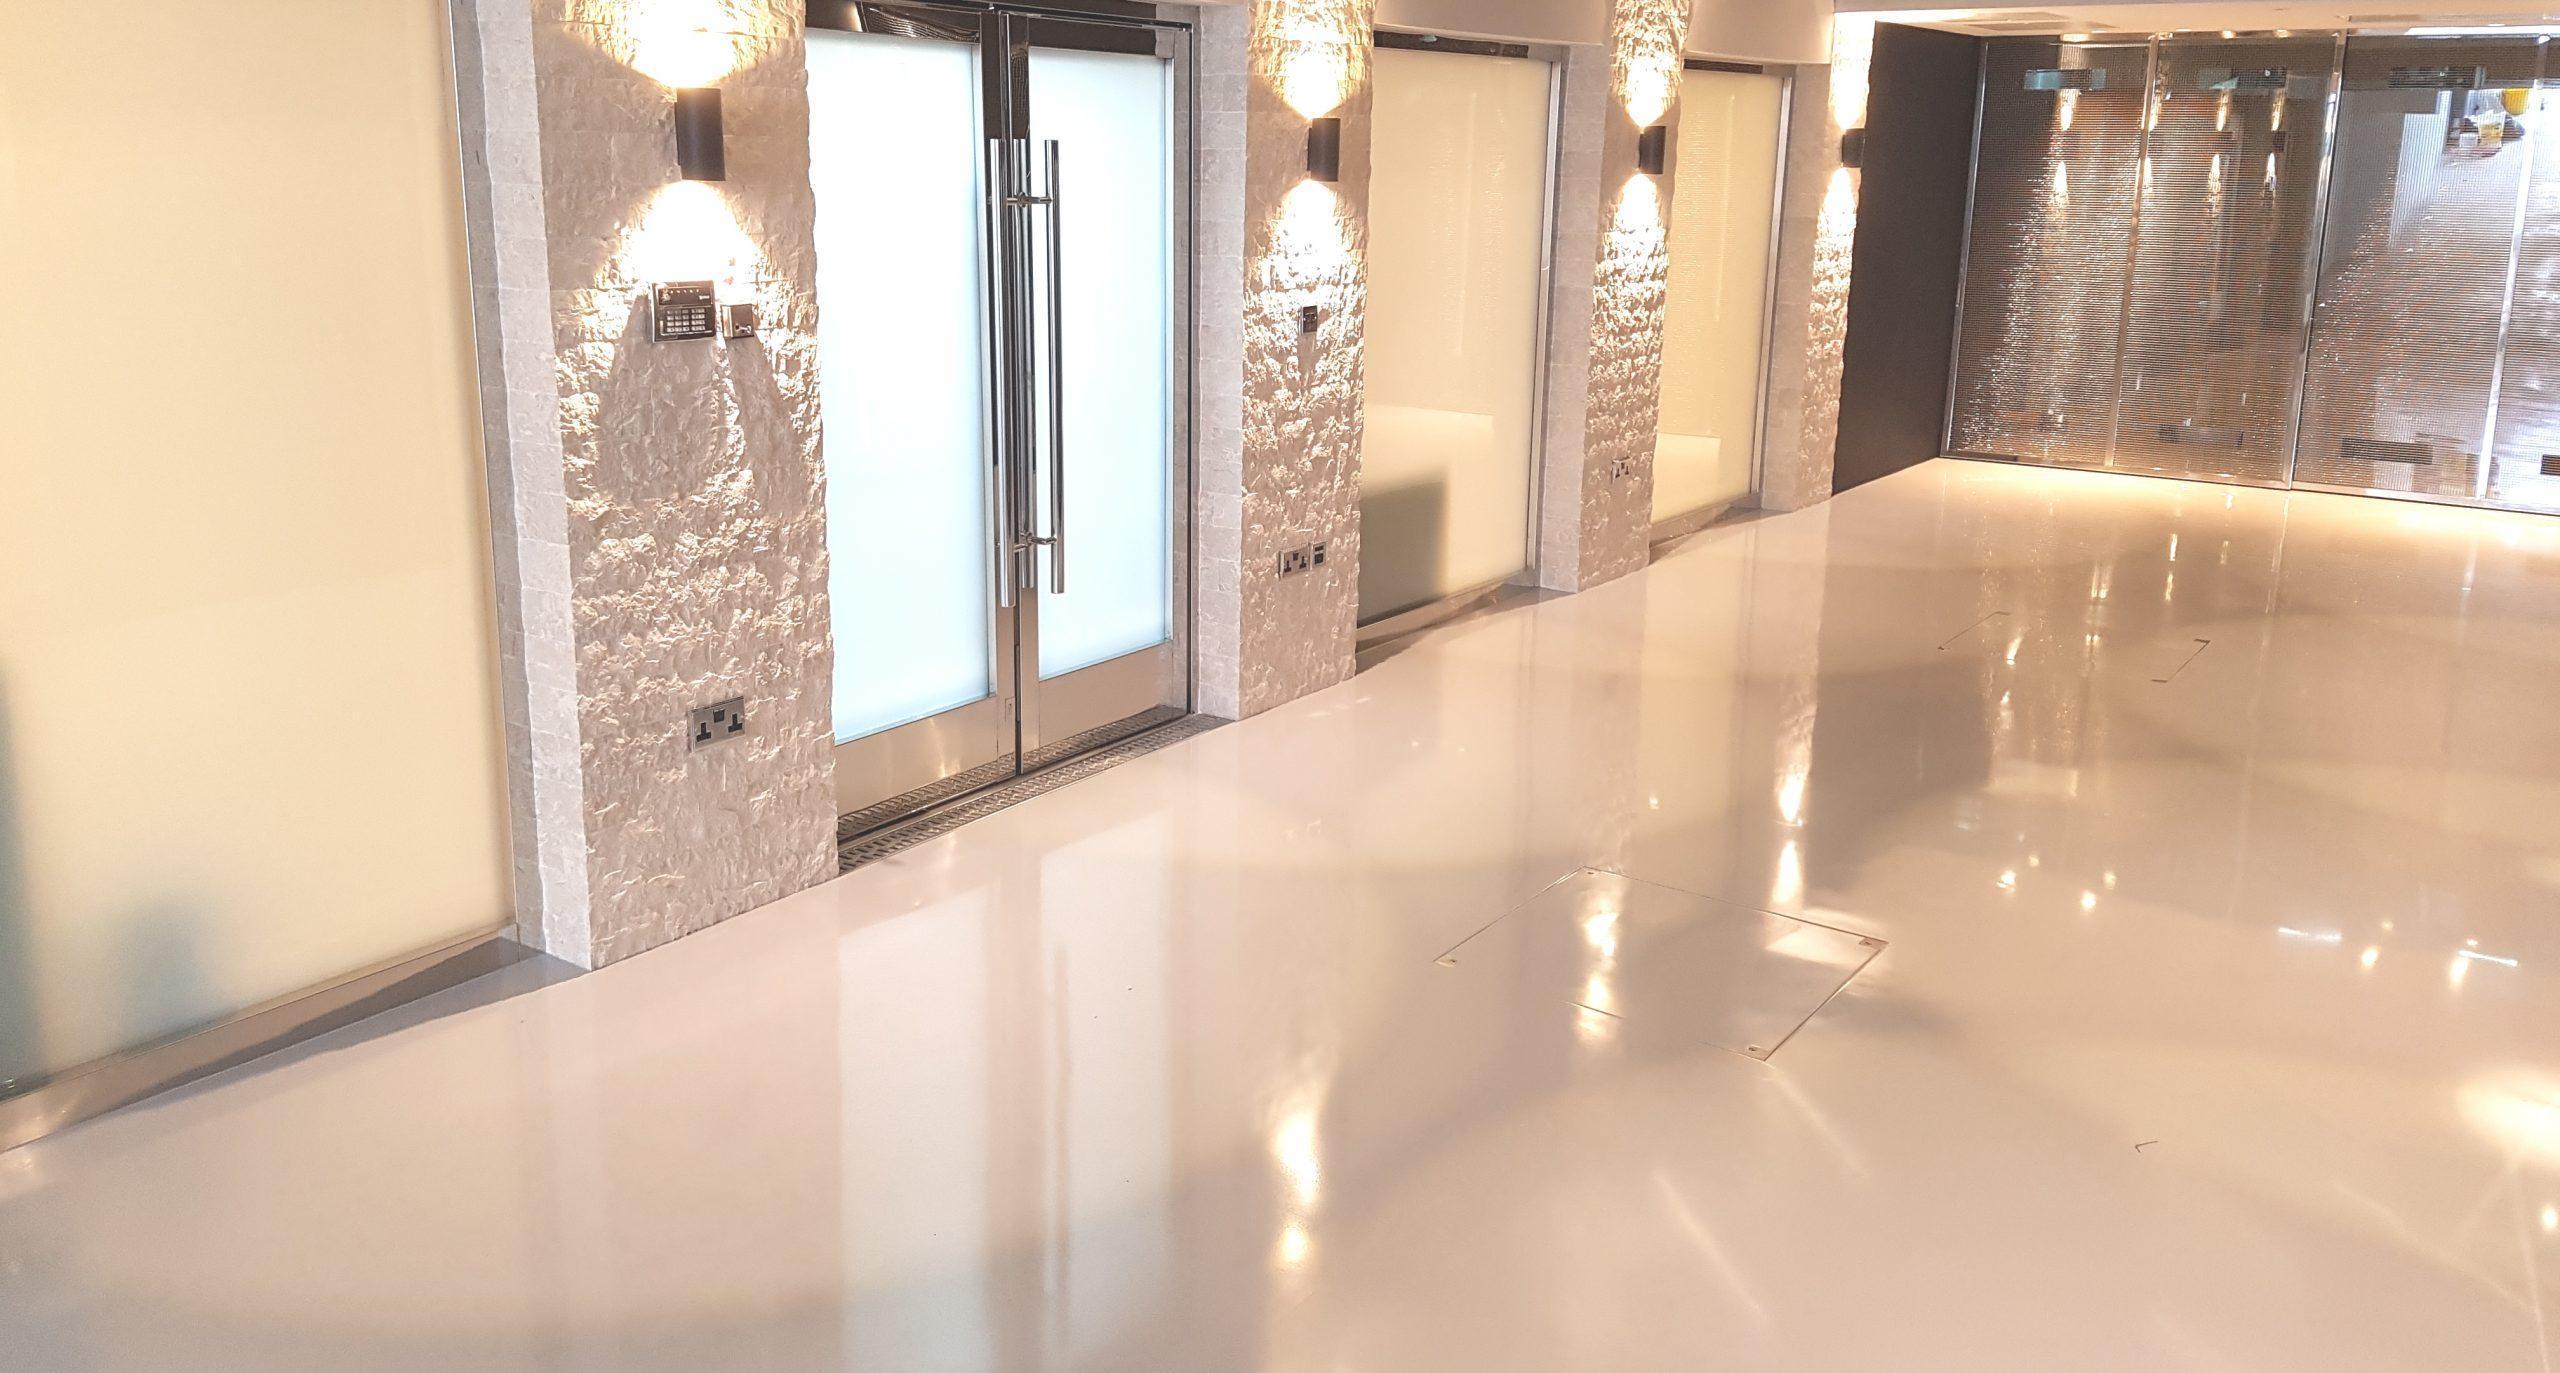
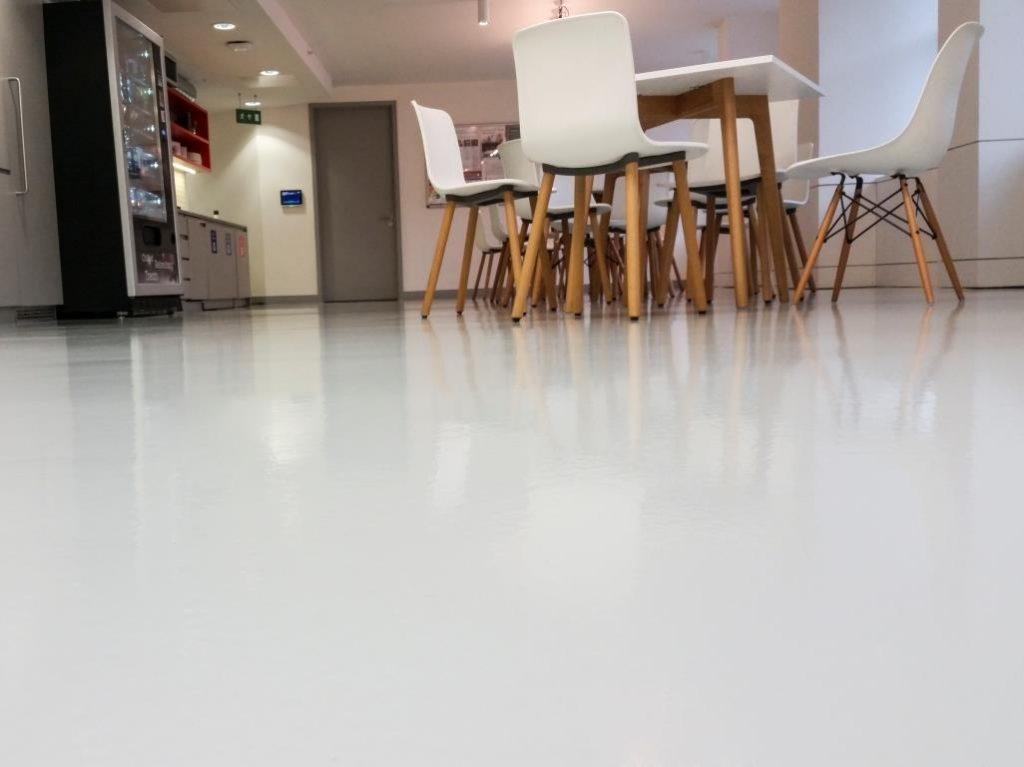
Epoxy flooring is the leading edge of covering and seamless coating for your surfaces.
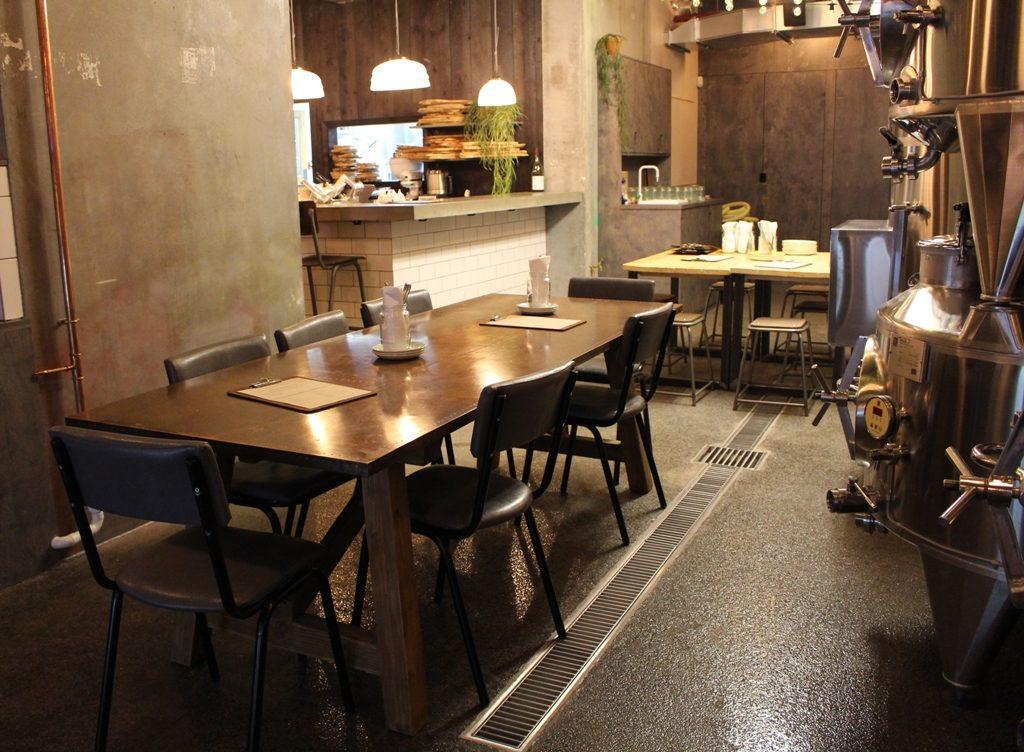
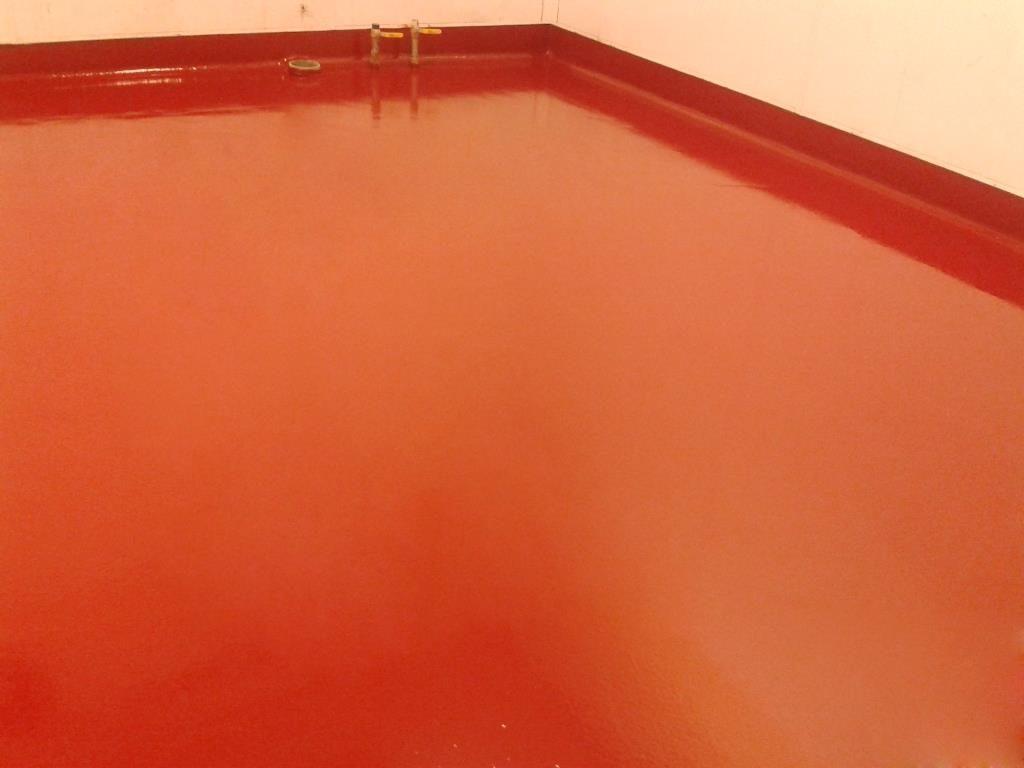
Epoxy flooring is a protective flooring surface system that combines several layers of epoxy resin and hardeners. Once blended, you can use it to form a strong and rigid surface. The properties of epoxy resin flooring UK make it popular in the factory and industrial buildings.
It can withstand the traffic and strain of moving products – but it’s also an idyllic solution for ultramodern residential interiors and premium commercial properties.
EPOXY FLOORING TEXTURE OPTIONS
UNIQUE TEXTURES & FINISHES
We offer a huge variety of textures and finishes, just let us know which one you prefer and we are going to implement in your projects. A seamless finish allows you to use other decorations and materials without hitches. Talk to us today to schedule a free consultation with one of the best epoxy flooring professionals UK residents love.
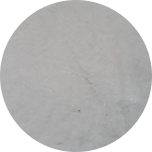
GLOSSY
For wet rooms, staircase, or public spaces such as locker rooms or foot traffic areas. Anti-slip aggregate is added to the final coat to achieve a satin finish and slip-resistant surface to ensure the floors have traction.
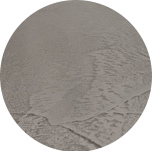
SATIN
Looks beautiful, but is more susceptible to scratches comparing to satin finishes.
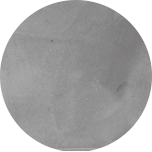
MATTE
Looks appealing and gives good protection to the design coat, adding scratch resistance to the whole epoxy coating system.
METALLIC EPOXY FLOORING
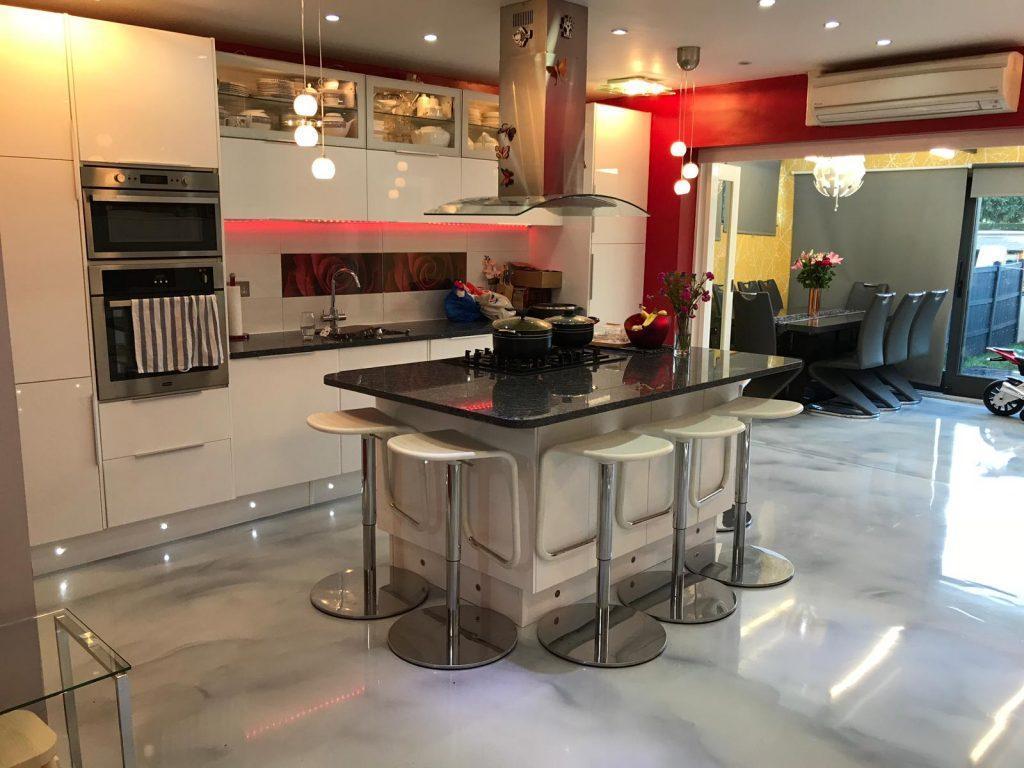
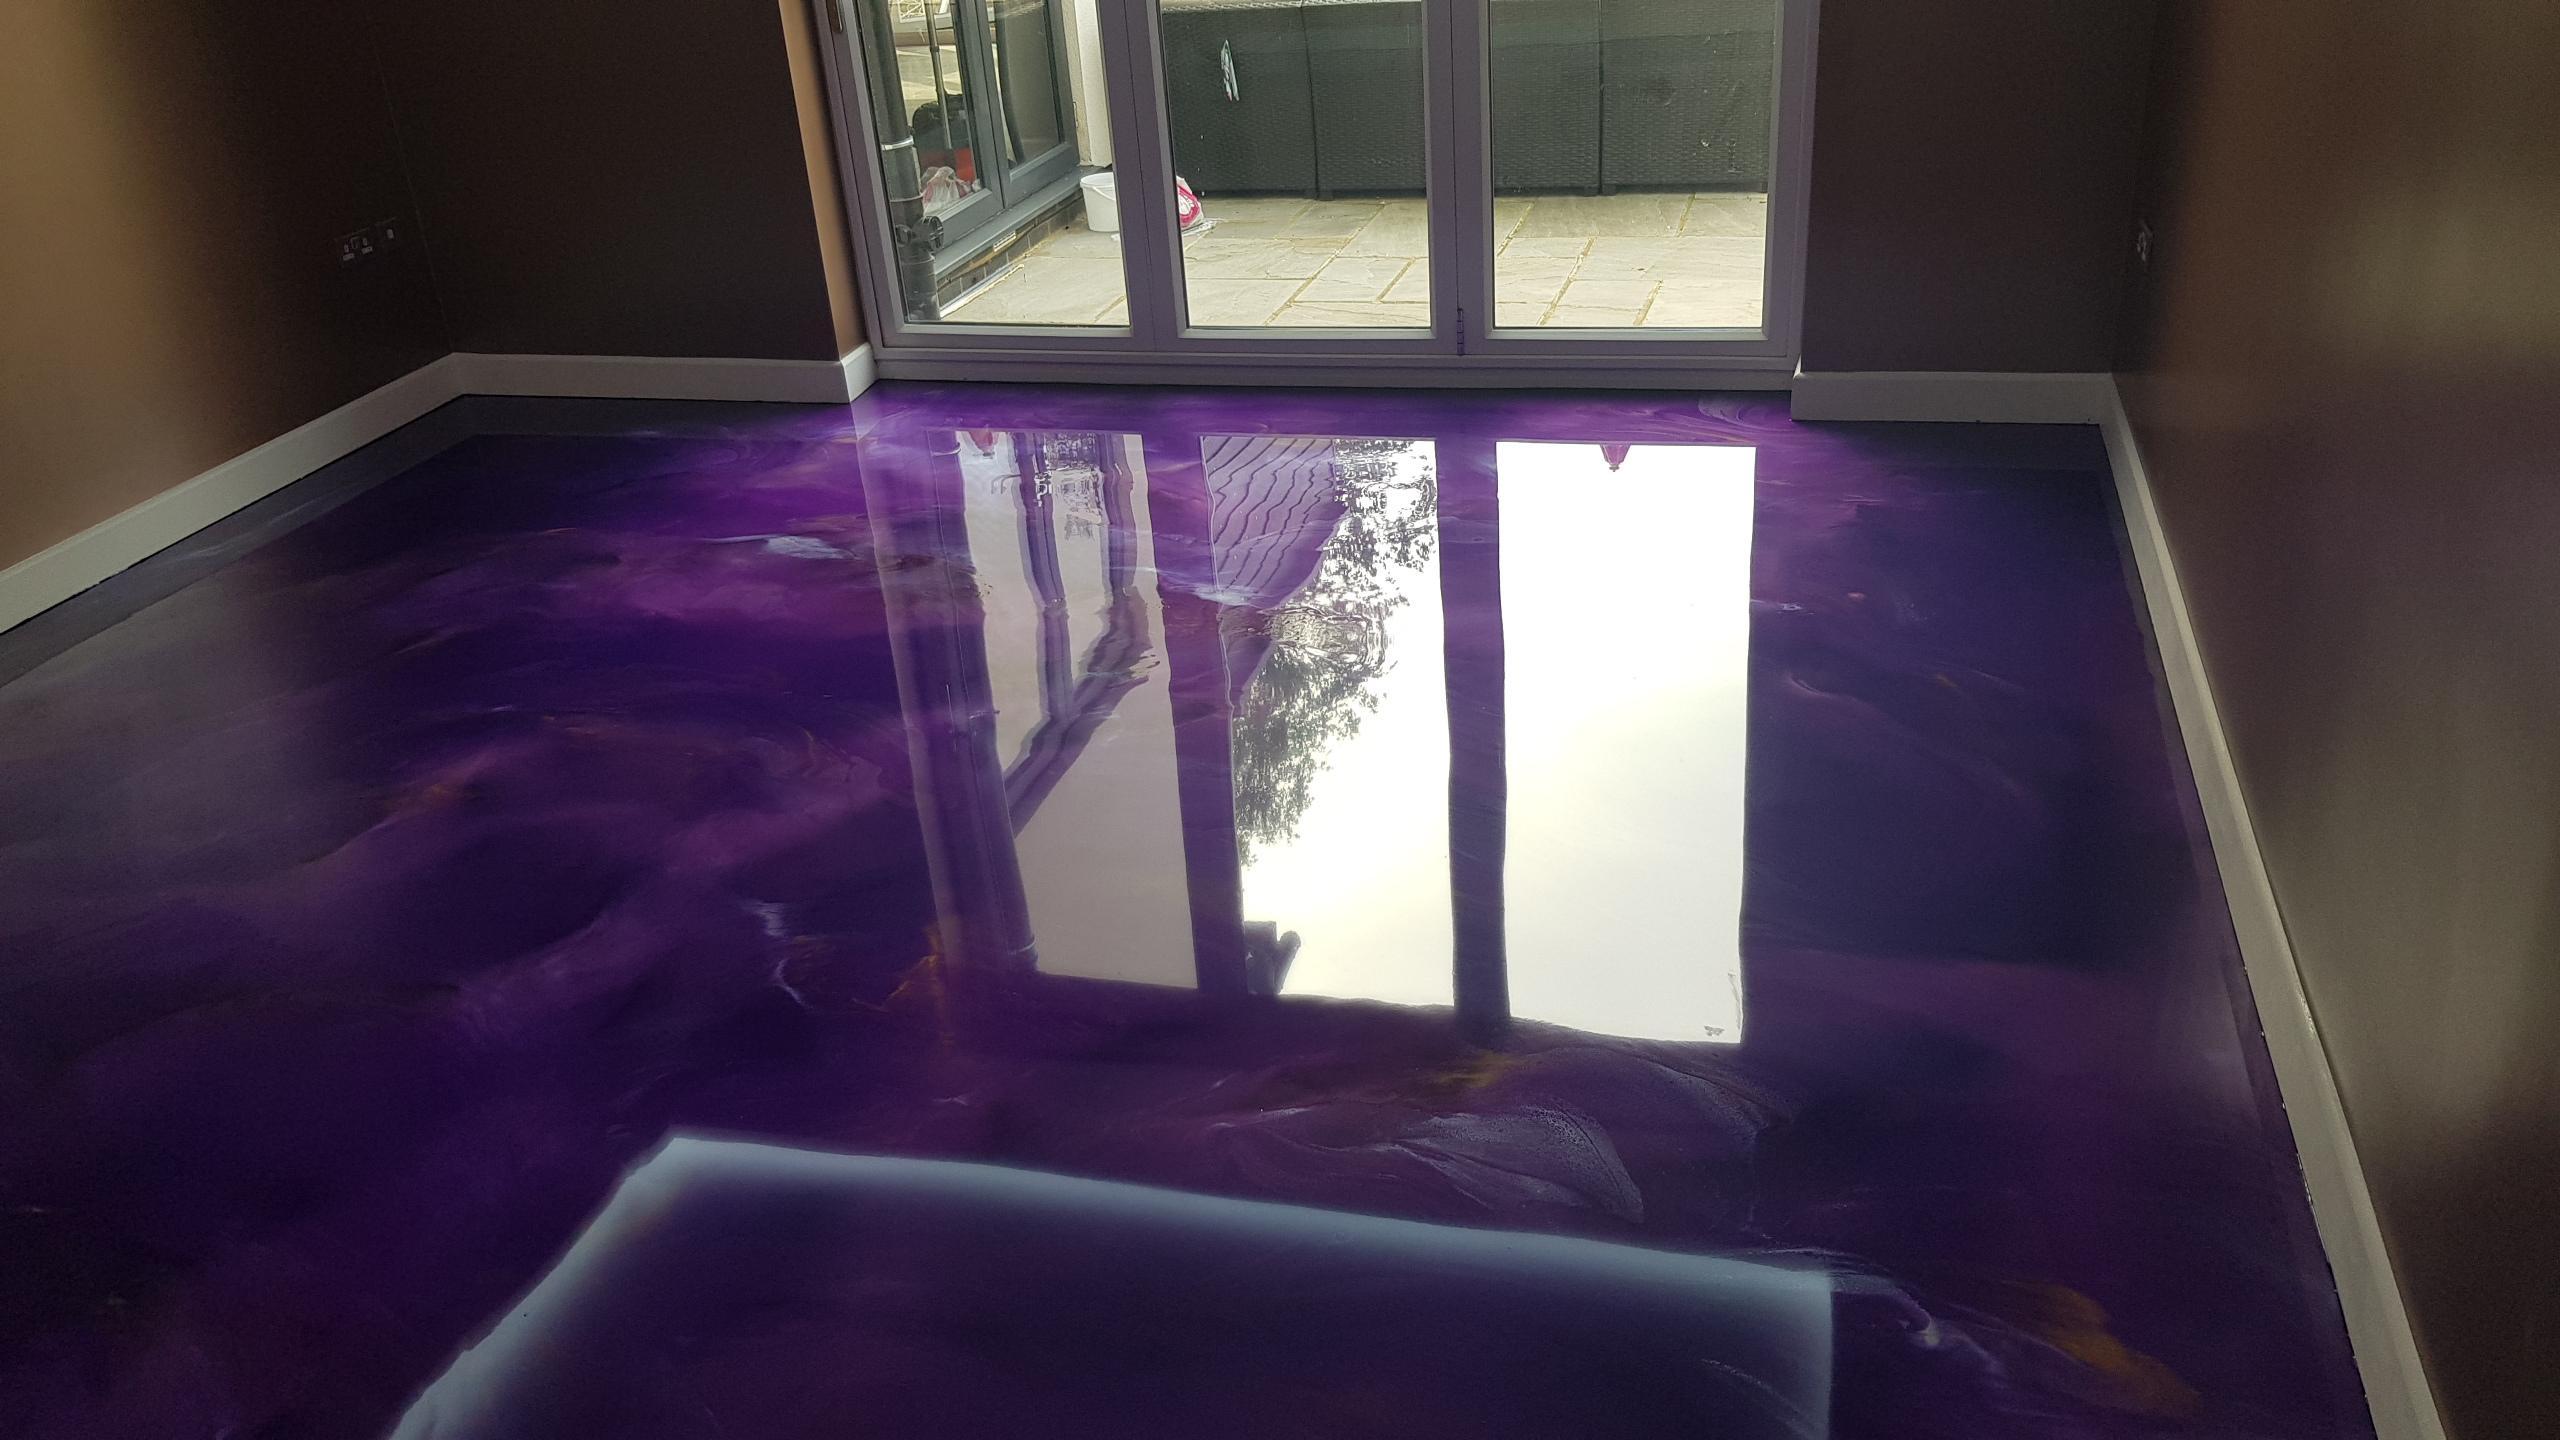
Our metallic epoxy flooring design allows you to create strikingly decorative surfaces. The advantage of metallic is that you get infinite opportunities to create a unique colour combination that will blend with your existing commercial or home setting. You end up with a smooth marble effect finish that is super easy to clean and maintain. You can easily refinish your old floors, tabletops and worktops and give them a new lease of life with our metallic epoxy surface coating. We recommend this product to be best used within commercial settings like garages, showrooms, shops, nightclubs, etc.
3D EPOXY FLOORING
3D Epoxy Flooring is quite a bold decision for your interior. Instead of being a background, the floor becomes the main detail. Automatically, all furnishing, walls and even lighting become a background for the 3D image. The wide range of 3D Designs created by 3D Royal Floors offer you the opportunity to personalise any interior. The seamless 3D epoxy flooring UK can transfer you to any place or country you dream of: you can have the sofa in your living room standing on a seaside, dolphins dwelling in your bathroom, a large hemisphere map laid on your office floor or comical pictures on your nursery floor. At 3D Royal Floors, we offer over 200 3D Designs to choose from.
THE EPOXY PROCESS, EXPLAINED
EPOXY INSTALLATION
The process of epoxy flooring installation is relatively straight forward. However, it needs a professional to achieve a seamless high specification finish.
GET A FLAWLESS EPOXY RESIN AT 3D ROYAL FLOORS
WHERE CAN YOU USE EPOXY?
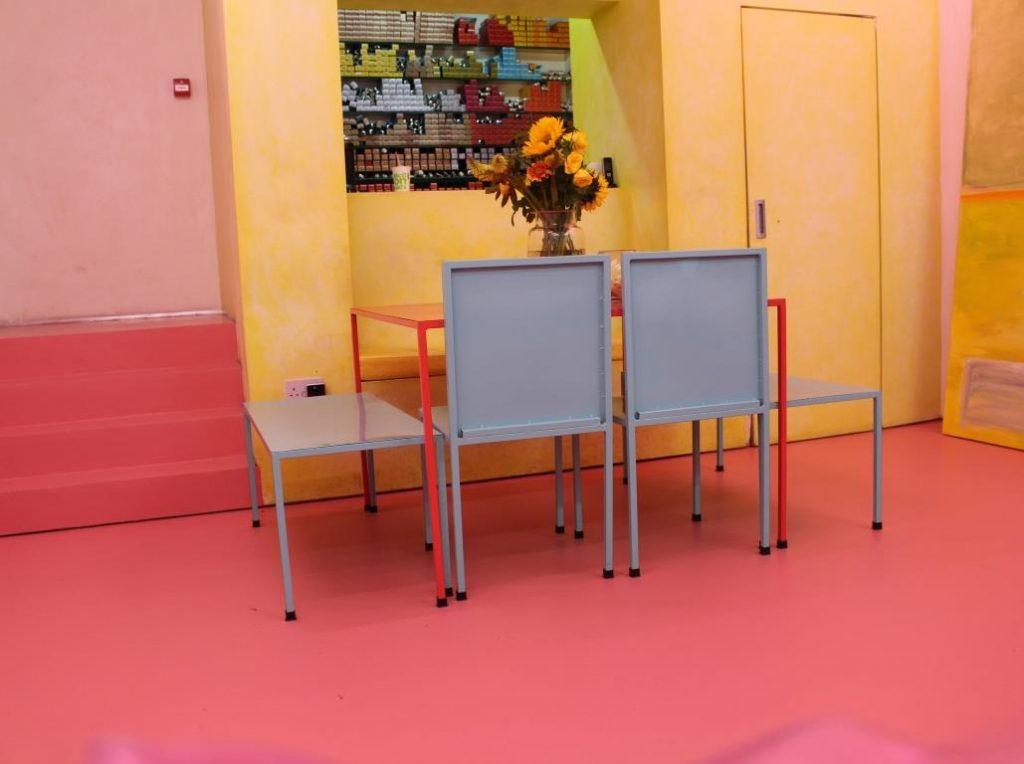
One of the top advantages of epoxy is its ability to be customised to meet any of your flooring needs ranging from residential to commercial and industrial applications. The industrial epoxy flooring options at 3D Royals Floors UK come in various forms, styles, patterns, and colours to suit any interior design.
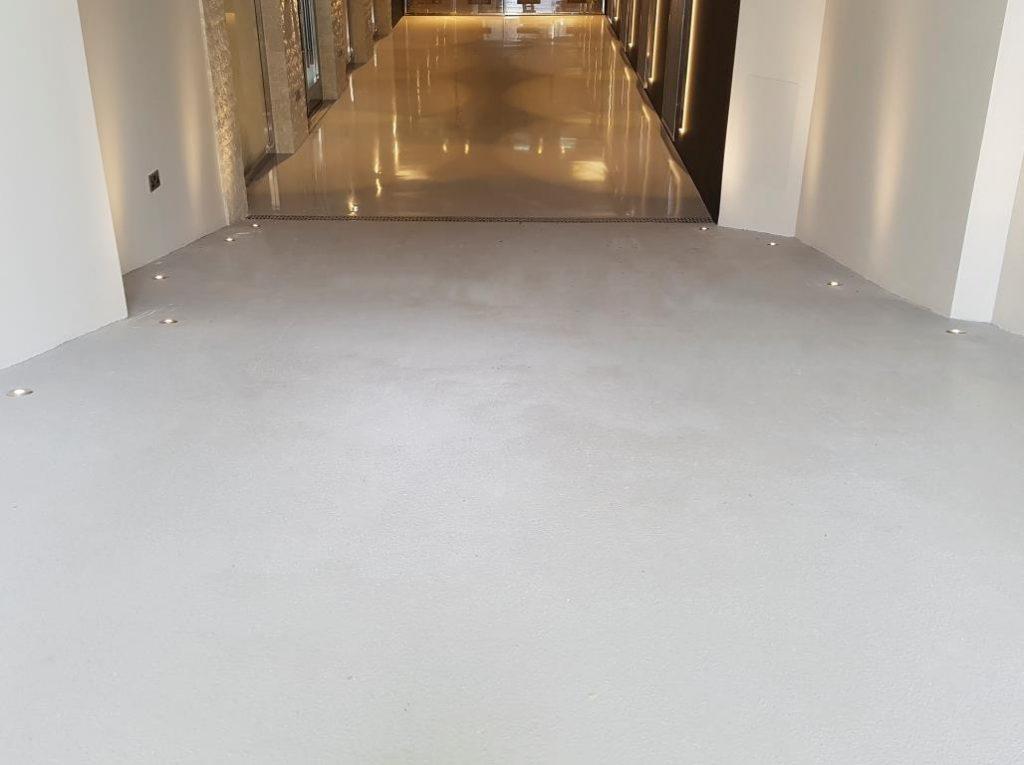
Without the numerous joints and ridges of a tiled surface, cleaning and hygiene are so simply managed. Microcement can be applied on floors and walls to achieve a continuous finish.
Microcement suppliers will confirm that the finish is more durable than other types of finishes commonly used for kitchens.
The Microcementing trend is becoming popular both for residential and industrial walls. With the aid of professionals like 3D Royal Floors, the result is highly aesthetic walls.
You can now match your furniture finish with your floor or your wall coverage. Microcement on furniture is durable and easy to maintain and clean.
Contact us and get a free site survey today.
POPULAR MICROCEMENT FAQS
FREQUENTLY ASKED QUESTIONS
Microcement is the ultimate in decorative wall and floor coverings. It has a real style cachet offering numerous concrete effect design alternatives in both domestic and commercial premises. Take a look at our portfolio for a little inspiration for your project, or check our bespoke micro cement colour shades.

